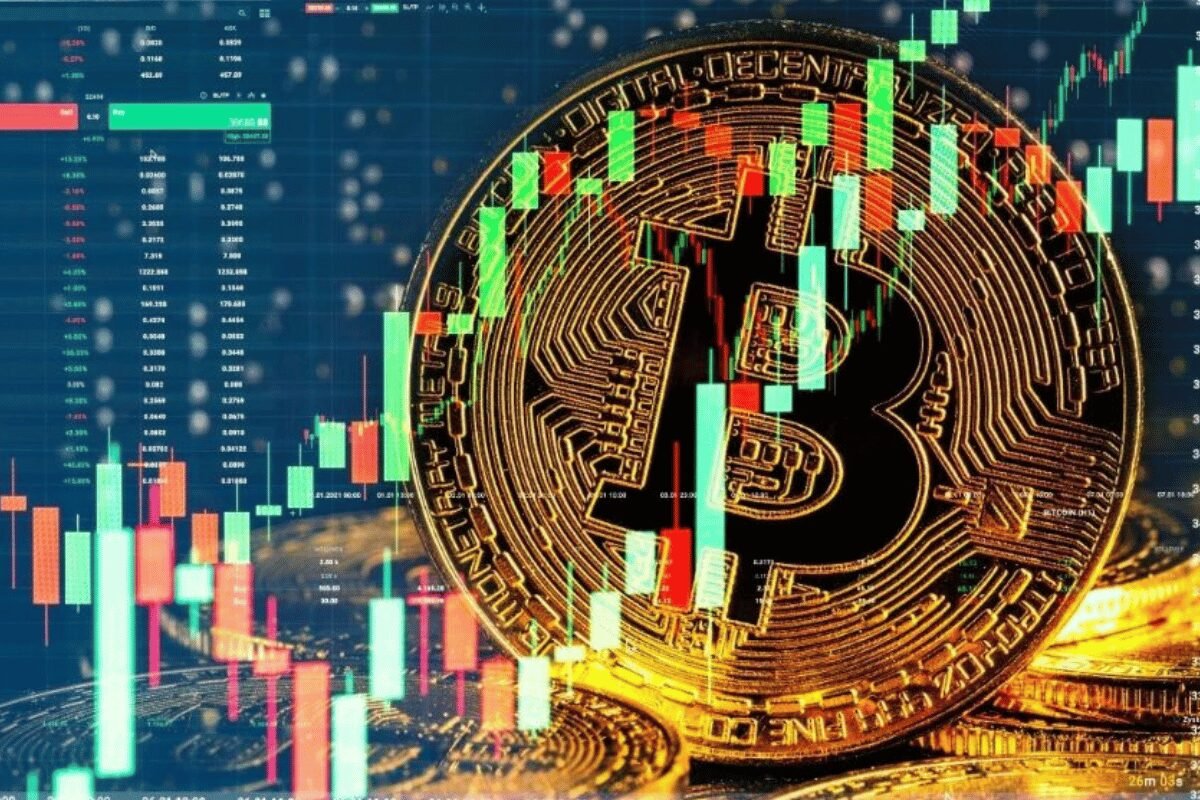


So you’re ready to register Binance account — or at least, you’re thinking about it. But where do you actually begin? If you’ve ever felt like the process might be complicated, rushed, or just too full of crypto jargon… well, you’re not alone.
To help cut through the noise, we’ve rounded up the five core steps every new Binance user needs to follow, plus a few tips to make the journey smoother. Whether you’re dipping your toes into crypto for the first time or just want a no-nonsense breakdown, this guide has you covered.
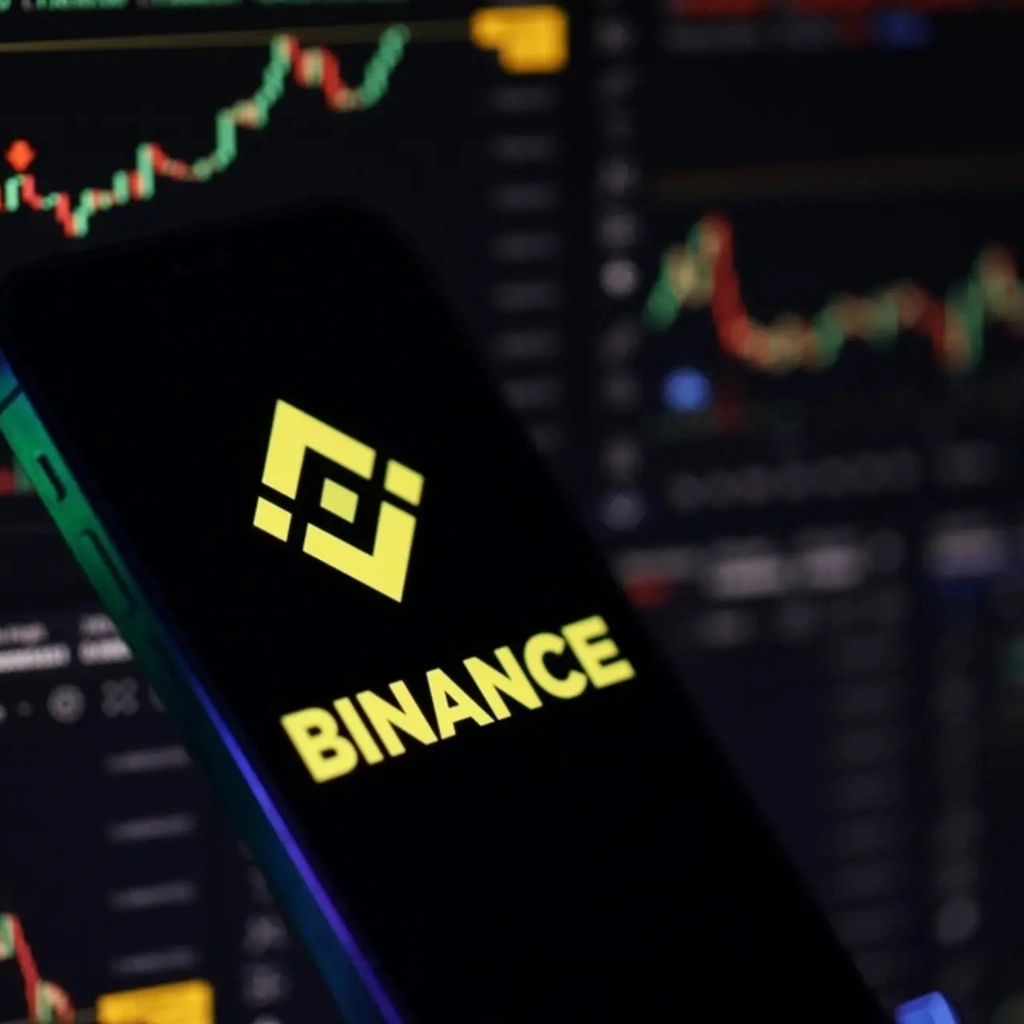
Step 1: Go to the Real Binance Site (Not a Lookalike)
Yes, this matters — a lot. The very first move when you register Binance account is making sure you’re on the real website. Scammers love spinning up fake pages that look almost right, but not quite.
Stick with binance.com. Avoid anything that ends in weird extensions or has odd characters in the domain. Once you’re sure, hit the Register button (usually top right). Choose between signing up with email or mobile — both work fine, just pick one you’ll actually check often.

🛠️ Step 2: Enter Your Details — and Use a Real Password
This is the part where a lot of people try to rush — don’t. Creating a Binance account means entering either your email or phone number, and setting up a password.
We know the temptation… something easy like “crypto123” or “binancepass.” But what if someone guesses it? (Spoiler: they can.) Go with something unique and complex. Once your info is in, Binance will send you a code — plug that in, and you’re officially on your way.
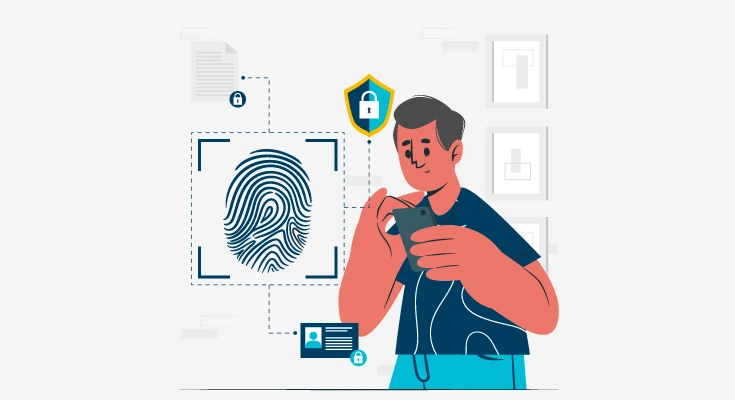
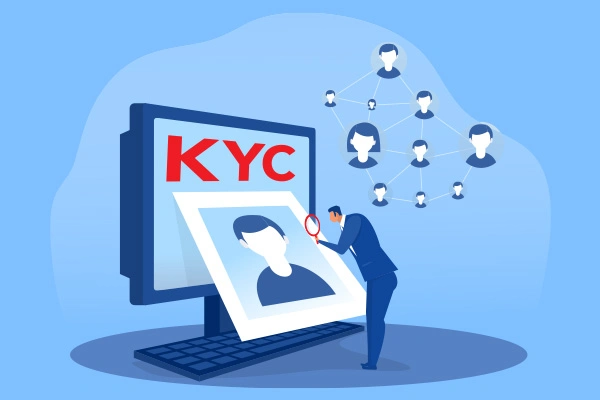
🪪 Step 3: Identity Verification — Yep, It’s Required
Here comes the KYC (Know Your Customer) process. And look, it might feel a little annoying, maybe even invasive. But it’s there for a reason — security.
To register Binance account fully and unlock higher limits, you’ll need to upload a government-issued ID (passport, driver’s license, etc.) and sometimes even a selfie. It takes a few minutes, sure, but it’s not rocket science. Just follow the prompts.
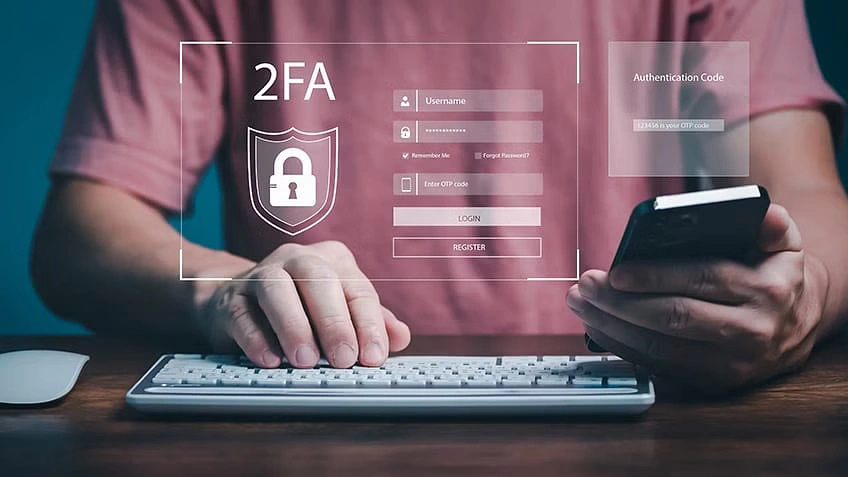
🔐 Step 4: Add 2FA — It’s the Easiest Way to Stay Safe
Want to avoid getting hacked? This one’s big: set up Two-Factor Authentication (2FA). It’s optional technically, but in reality? It shouldn’t be.
Most users opt for Google Authenticator or SMS codes. Either way, it gives your account an extra lock, and it’s one of the best ways to keep your crypto safe. It might slow down login by 10 seconds — but it could save you a ton of stress.
📊 Step 5: Explore Your Dashboard — But Don’t Dive in Blind
Once you’ve made it this far, congrats — your Binance account is live. But before you start trading or buying Bitcoin, take a breather. The platform is big. It can feel like walking into a cockpit.
Look through the menus. Check out your wallets. See how deposits and trades work. Binance has a great “Learn” section — worth clicking through if you’re new to all this.
And maybe — just maybe — don’t go all-in on Dogecoin right away. Try a small test trade first, just to see how everything flows.
Final Thoughts: Register Binance Account — One Step at a Time
If you’ve been sitting on the sidelines wondering how to register Binance account, this guide was made for you. It’s not perfect — some parts feel a little stiff, a little corporate — but honestly? It’s easier than most expect.
Just remember: check the site URL, use a solid password, verify your ID, turn on security features, and don’t rush your first trade.
With crypto, the first step is often the hardest. But once it’s done? The rest gets a whole lot easier.
Relevant news: here